Documentation /Getting started
Your first event, start to finish
This walks the whole way through once. Every step has a page of its own later; this is the short version.
1. Set the basics
Open Settings → General settings → General and set your Date format, Time format and which day your Week starts on. Then Settings → Payments → General and set your Currency and how the symbol sits against the number.
Neither is hard to change later, but both appear on every screen and every ticket, so it is worth thirty seconds now.
2. Create the event
Go to Events and press Add Event.
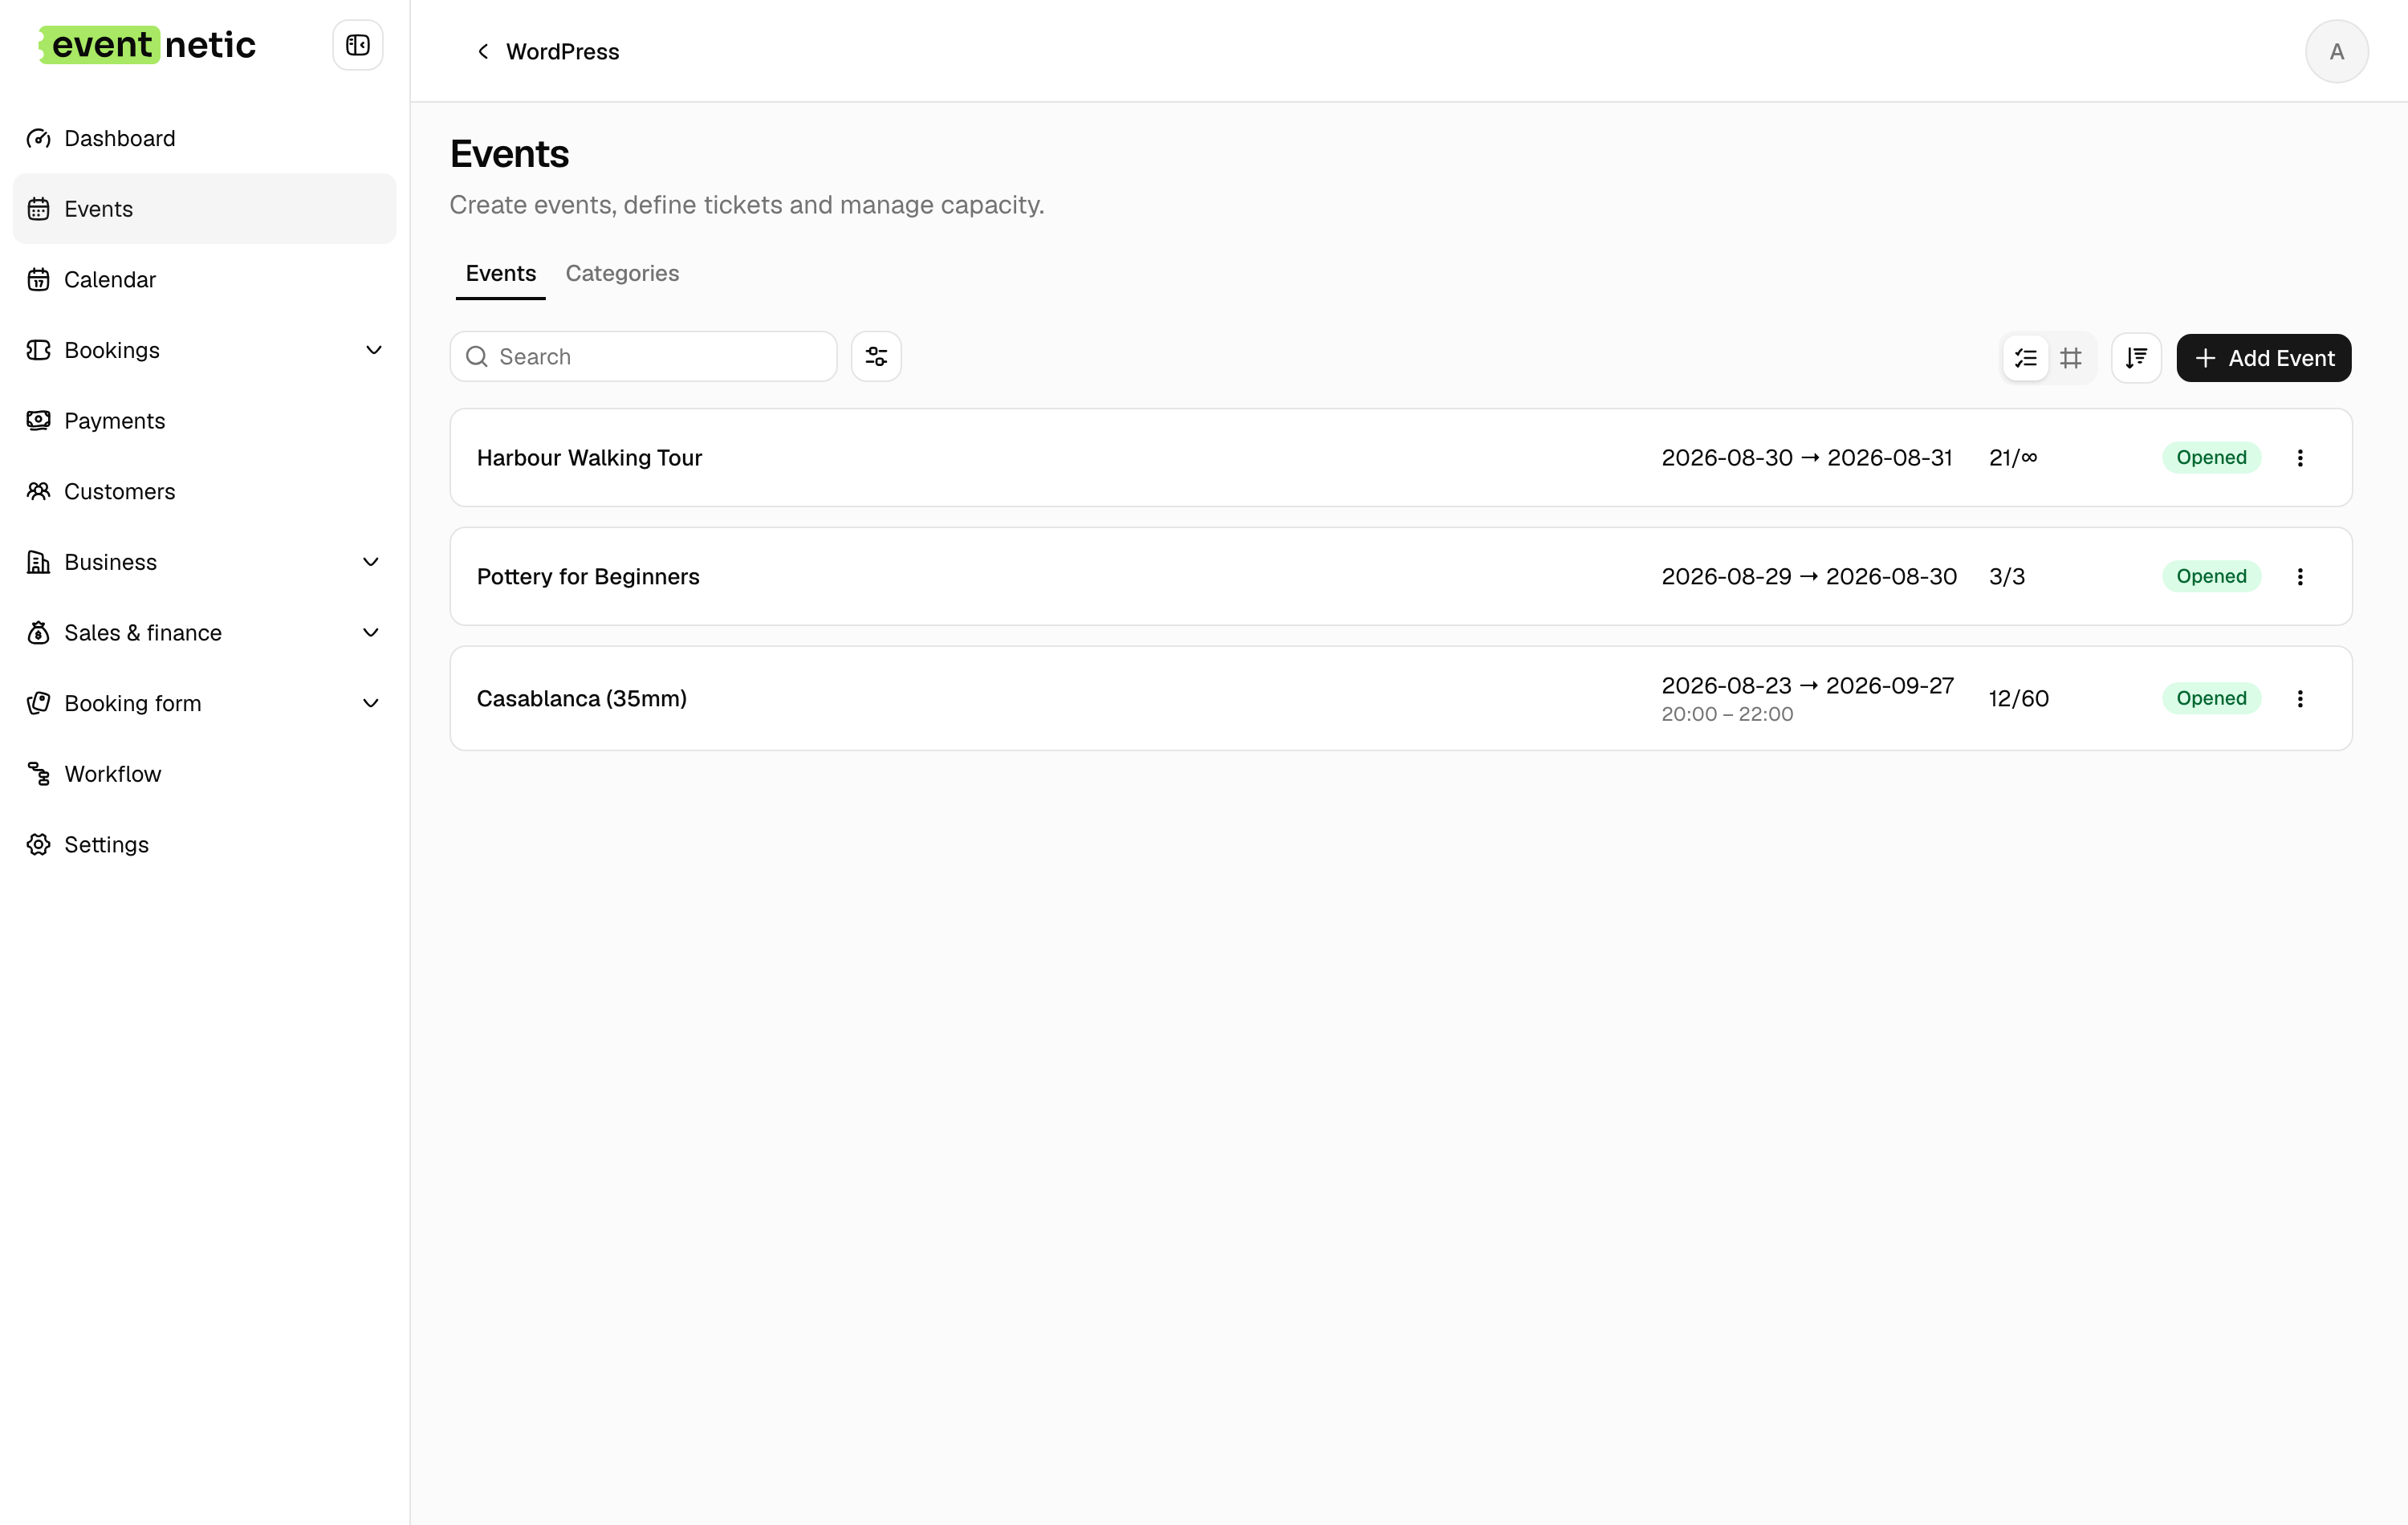
On the Details tab, the fields that matter first:
- Event title — what the customer sees
- Start date and End date, plus Start time and End time unless you tick Full day event
- Total capacity — how many people can come in total. Leave it blank and the event is unlimited
- Location — pick one you have saved, or type an Address
Save.
3. Give it a ticket
Nothing is bookable until it has at least one ticket type. Open the Tickets tab and add one:
- Name — "Standard", "Front row", "Child"
- Price
- Capacity — Shared with event uses the event's total; Own limit gives this ticket its own number; Unlimited has no ceiling
That is enough. Deposits, sale windows, per-order limits and the questions you ask each attendee are all optional, and they are covered in Ticket types.
4. Put it on a page
Back on Details, find Public page and press Create page. Eventnetic makes a WordPress page carrying the booking form for this event. Press View to see what a visitor sees.
The booking form walks the customer through: a date, tickets, their details, the attendee names, and payment.
5. Decide how they pay
Open Settings → Payments → Payment methods.
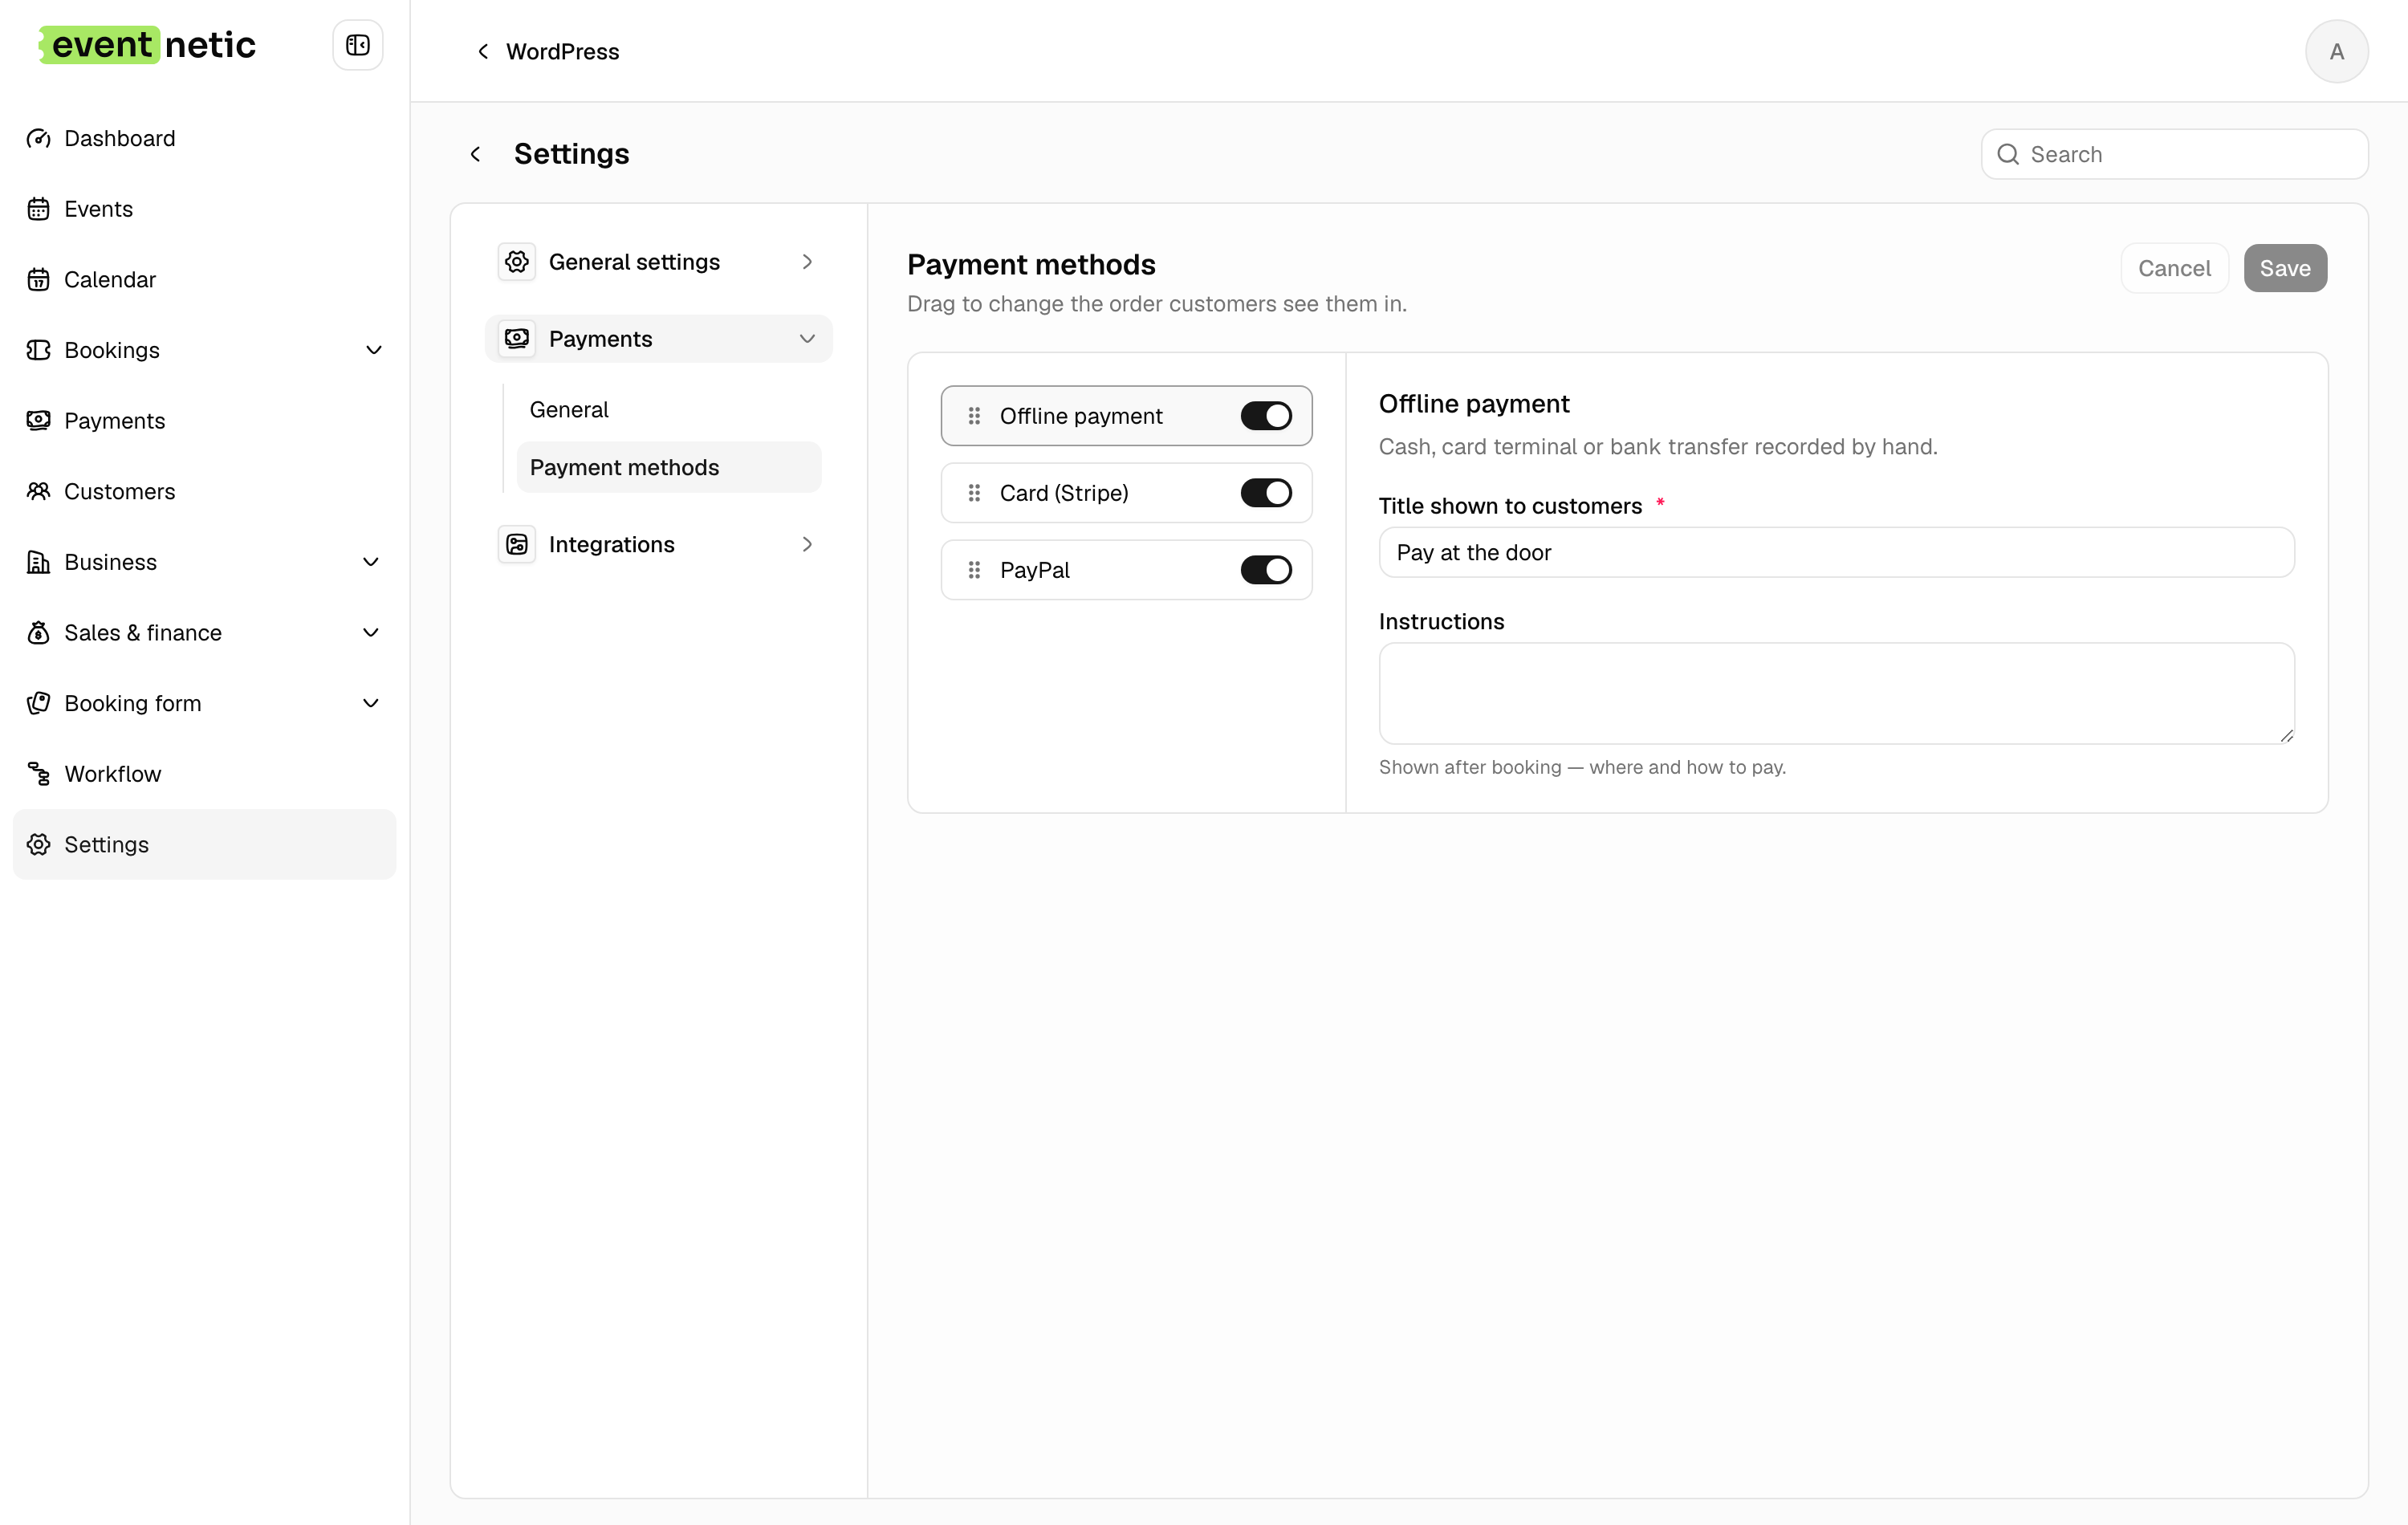
Offline payment is on out of the box — the customer books now and pays you at the door or by transfer, and you record the money when it arrives. Its Title shown to customers and Instructions are what they read at checkout.
Card payments through Stripe or PayPal need Pro and your own keys. See Taking card payments.
6. Take a booking and check somebody in
Book a ticket yourself from the public page. It appears immediately under Bookings, and the customer gets a confirmation with a PDF ticket attached — assuming background tasks are running.
To admit them, press Check in on the Bookings screen, scan or type the ticket code, and Eventnetic tells you whose it is and whether it has been used.
What next
- Events and dates — repeating dates, online events, capacity per date
- Workflow — the emails and messages that go out by themselves
- Settings — everything you can change