Documentation /Getting started
The pages your site needs
Eventnetic puts itself on your site through shortcodes. Each one is a normal WordPress page with one line in it.
Create the pages
Make three pages and paste one shortcode into each:
| Page | Shortcode | What visitors see |
|---|---|---|
| Events | [eventnetic_ |
Every upcoming event, as cards that link to their own page |
| My bookings | [eventnetic_ |
A lookup: booking code plus email, then the whole booking |
| Thank you | [eventnetic_ |
The confirmation after paying: tickets, codes, calendar file |
Then tell Eventnetic which page is which, in Settings → General settings → Public pages.
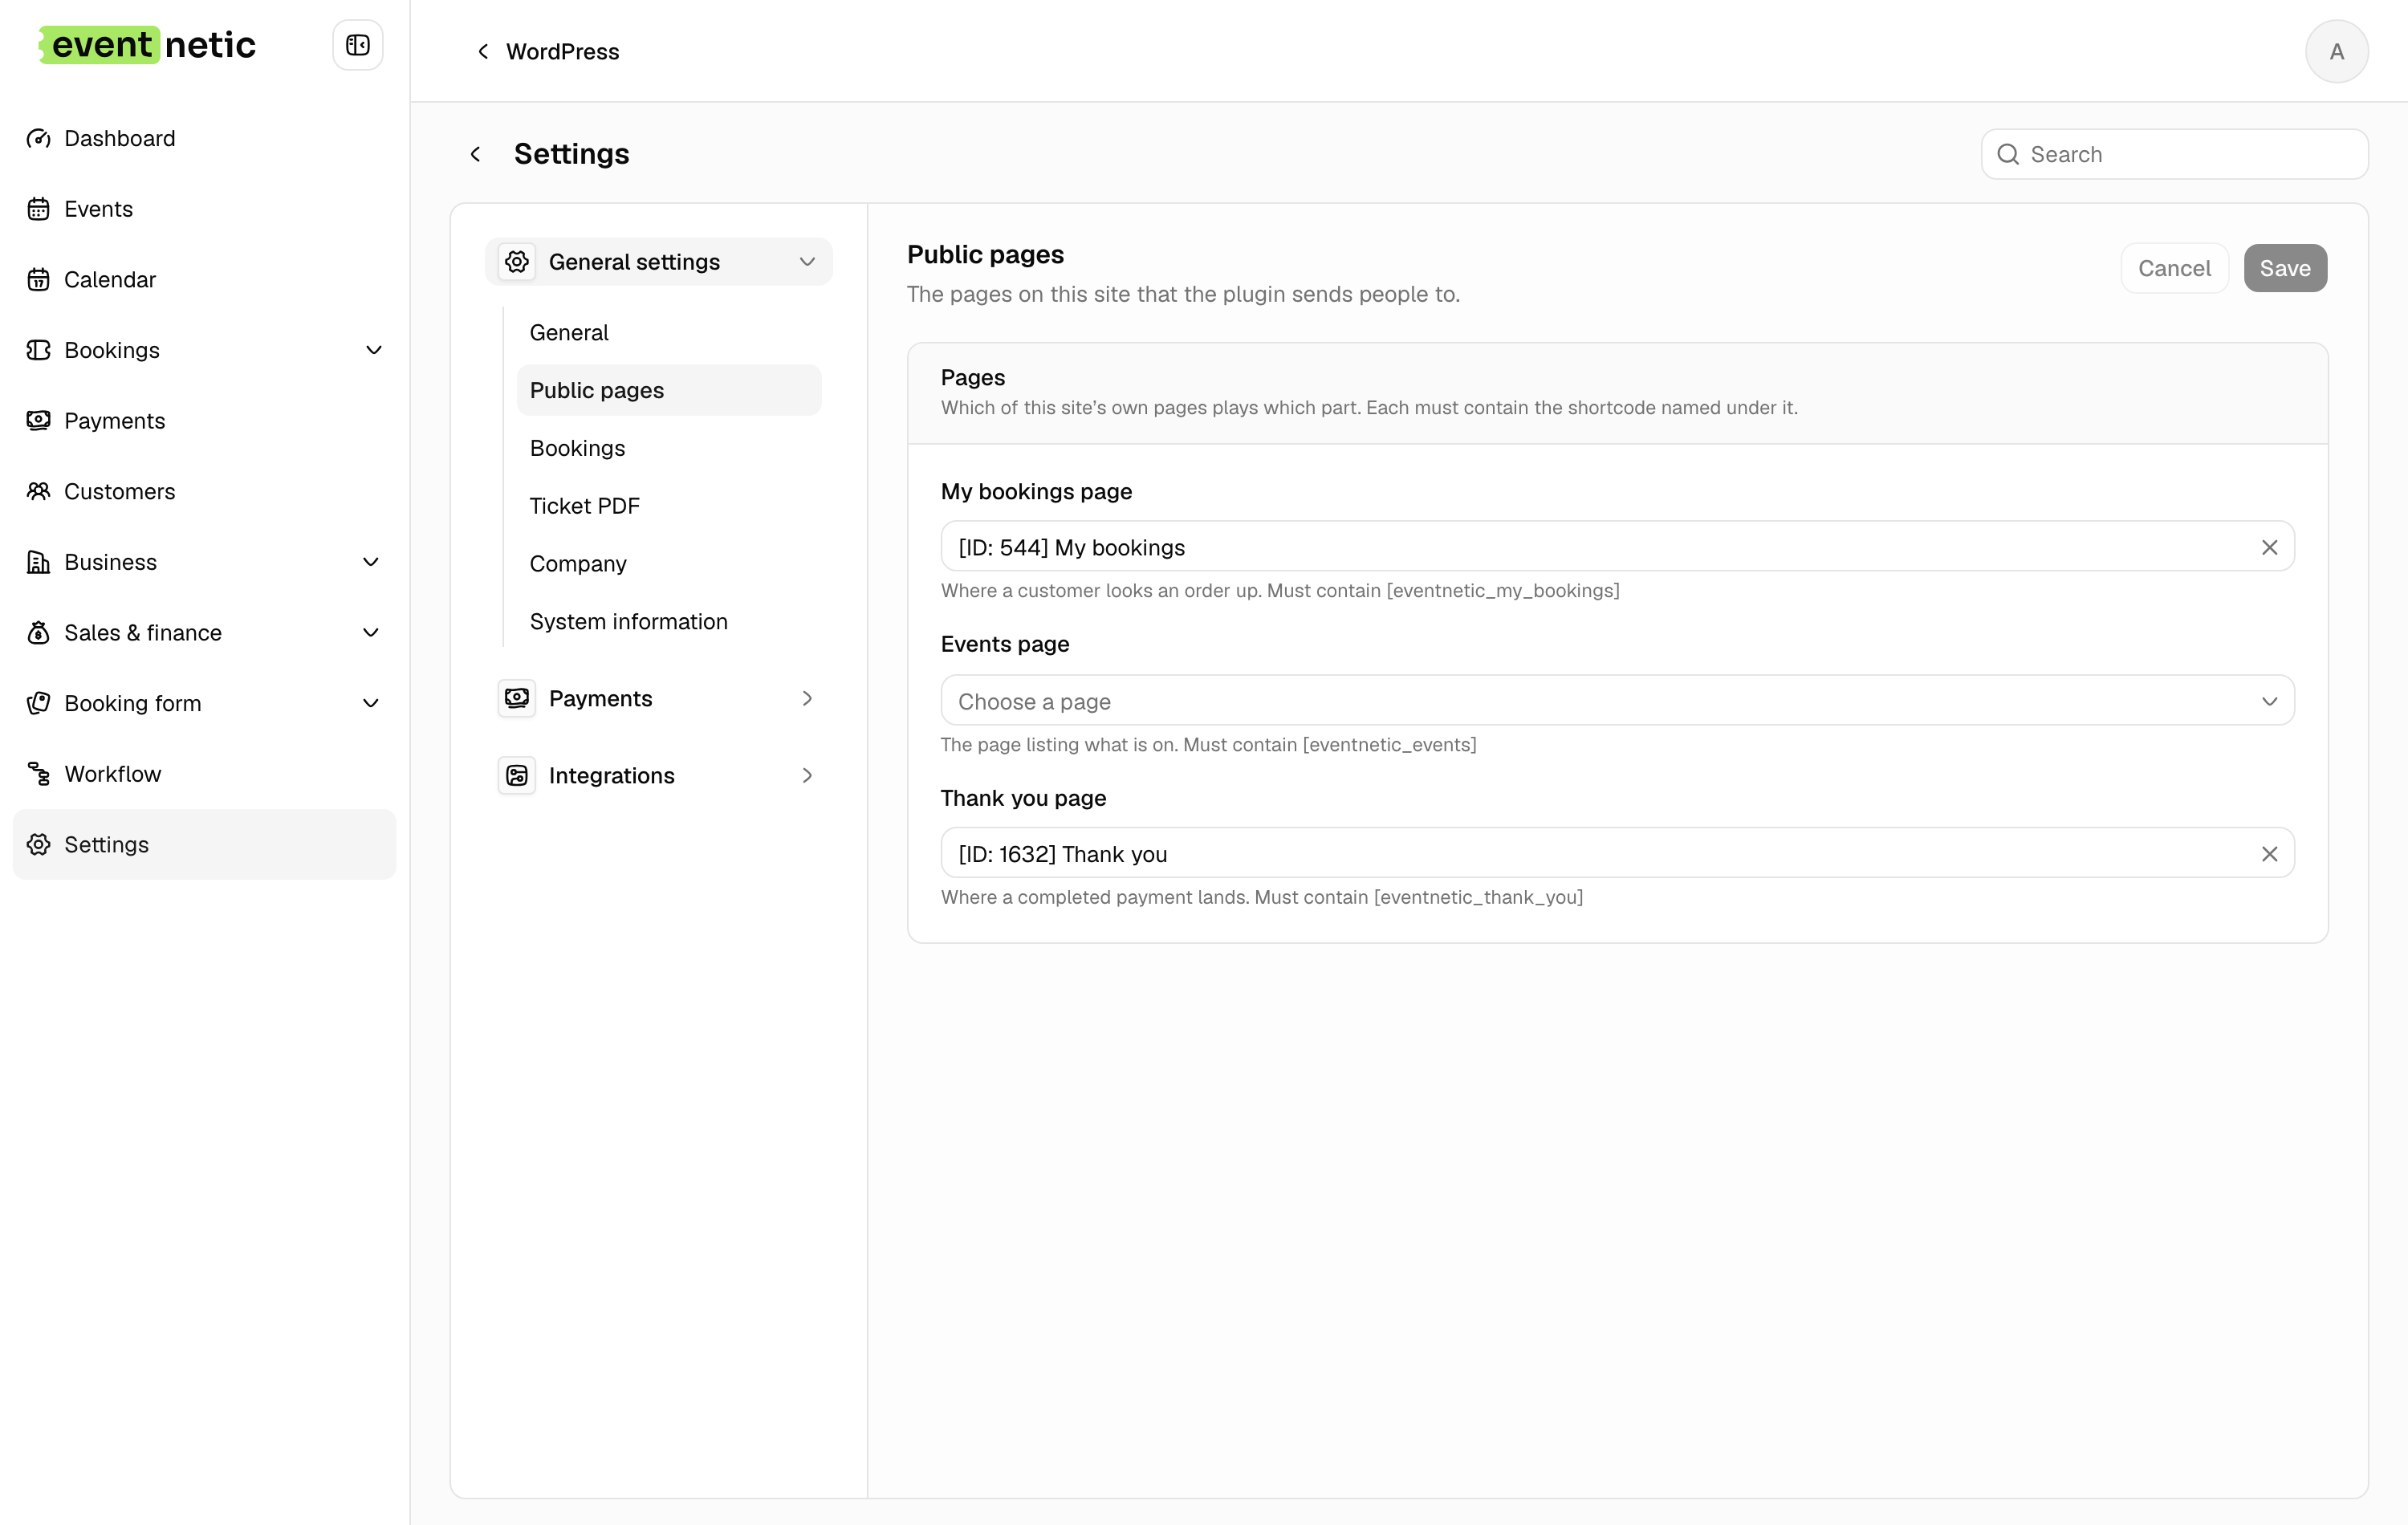
This matters more than it looks. The Thank you page is where a payment provider sends the customer back to, and the My bookings page is the link in every confirmation email. Leave them unset and both journeys end nowhere.
With Pro on the Pro or Elite plan, the My bookings page is also the customer panel: a customer who is signed in sees every booking they have made there, without typing a code. See The customer panel.
The booking form itself
Each event also needs somewhere to be booked. That is a fourth shortcode, and it takes the event's id:
[eventnetic_booking event="12"]
You rarely type this by hand. On an event's Details tab there is a Public page field with a Create page button: it makes a page named after the event with the right shortcode already in it, and then offers Edit page and View.
Options on the events list
[eventnetic_events] takes a few attributes:
| Attribute | Default | What it does |
|---|---|---|
limit |
9 |
How many events to show, from 1 to 48 |
search |
yes |
Show the search box above the grid |
past |
no |
Include events that have already happened |
category |
— | Comma-separated category slugs; the widget then only ever shows those |
So a page that lists only concerts, twelve at a time, with no search box:
[eventnetic_events category="concerts" limit="12" search="no"]
The other three shortcodes take no attributes.