
Selling workshop tickets directly from your WordPress site gives you full control over the transaction. Attendees register on a page you own, payment routes to your Stripe or PayPal account, every booking record lives in your own dashboard, and no platform takes a commission from each sale.
This guide covers the complete setup for selling workshop tickets on WordPress using Eventnetic as the ticketing plugin. It covers one-off and recurring workshop formats, capacity limits, attendee intake questions, payment options, automated reminders, QR code check-in, and ideas for certificates and post-workshop follow-up.
If you are still comparing plugin options before committing to one, the best WordPress event plugins roundup covers all the main choices side by side. For a comparison focused specifically on workshops and classes, see the best WordPress event plugins guide.
Why Eventnetic Suits Workshop Ticketing
Eventnetic is a purpose-built WordPress event ticketing plugin with a setup that fits workshops well. Several features make it a practical choice for workshop organizers:
Unlimited events and bookings on the free plan. You can create and sell tickets for as many workshops as you like, with no event cap and no booking limit. The free plan uses cash and offline payment collection. There is no time restriction on the free tier.
Recurring dates with per-date pricing. A weekly pottery class or a monthly business skills session can be set up as a single repeating event, with each date carrying its own capacity and ticket price.
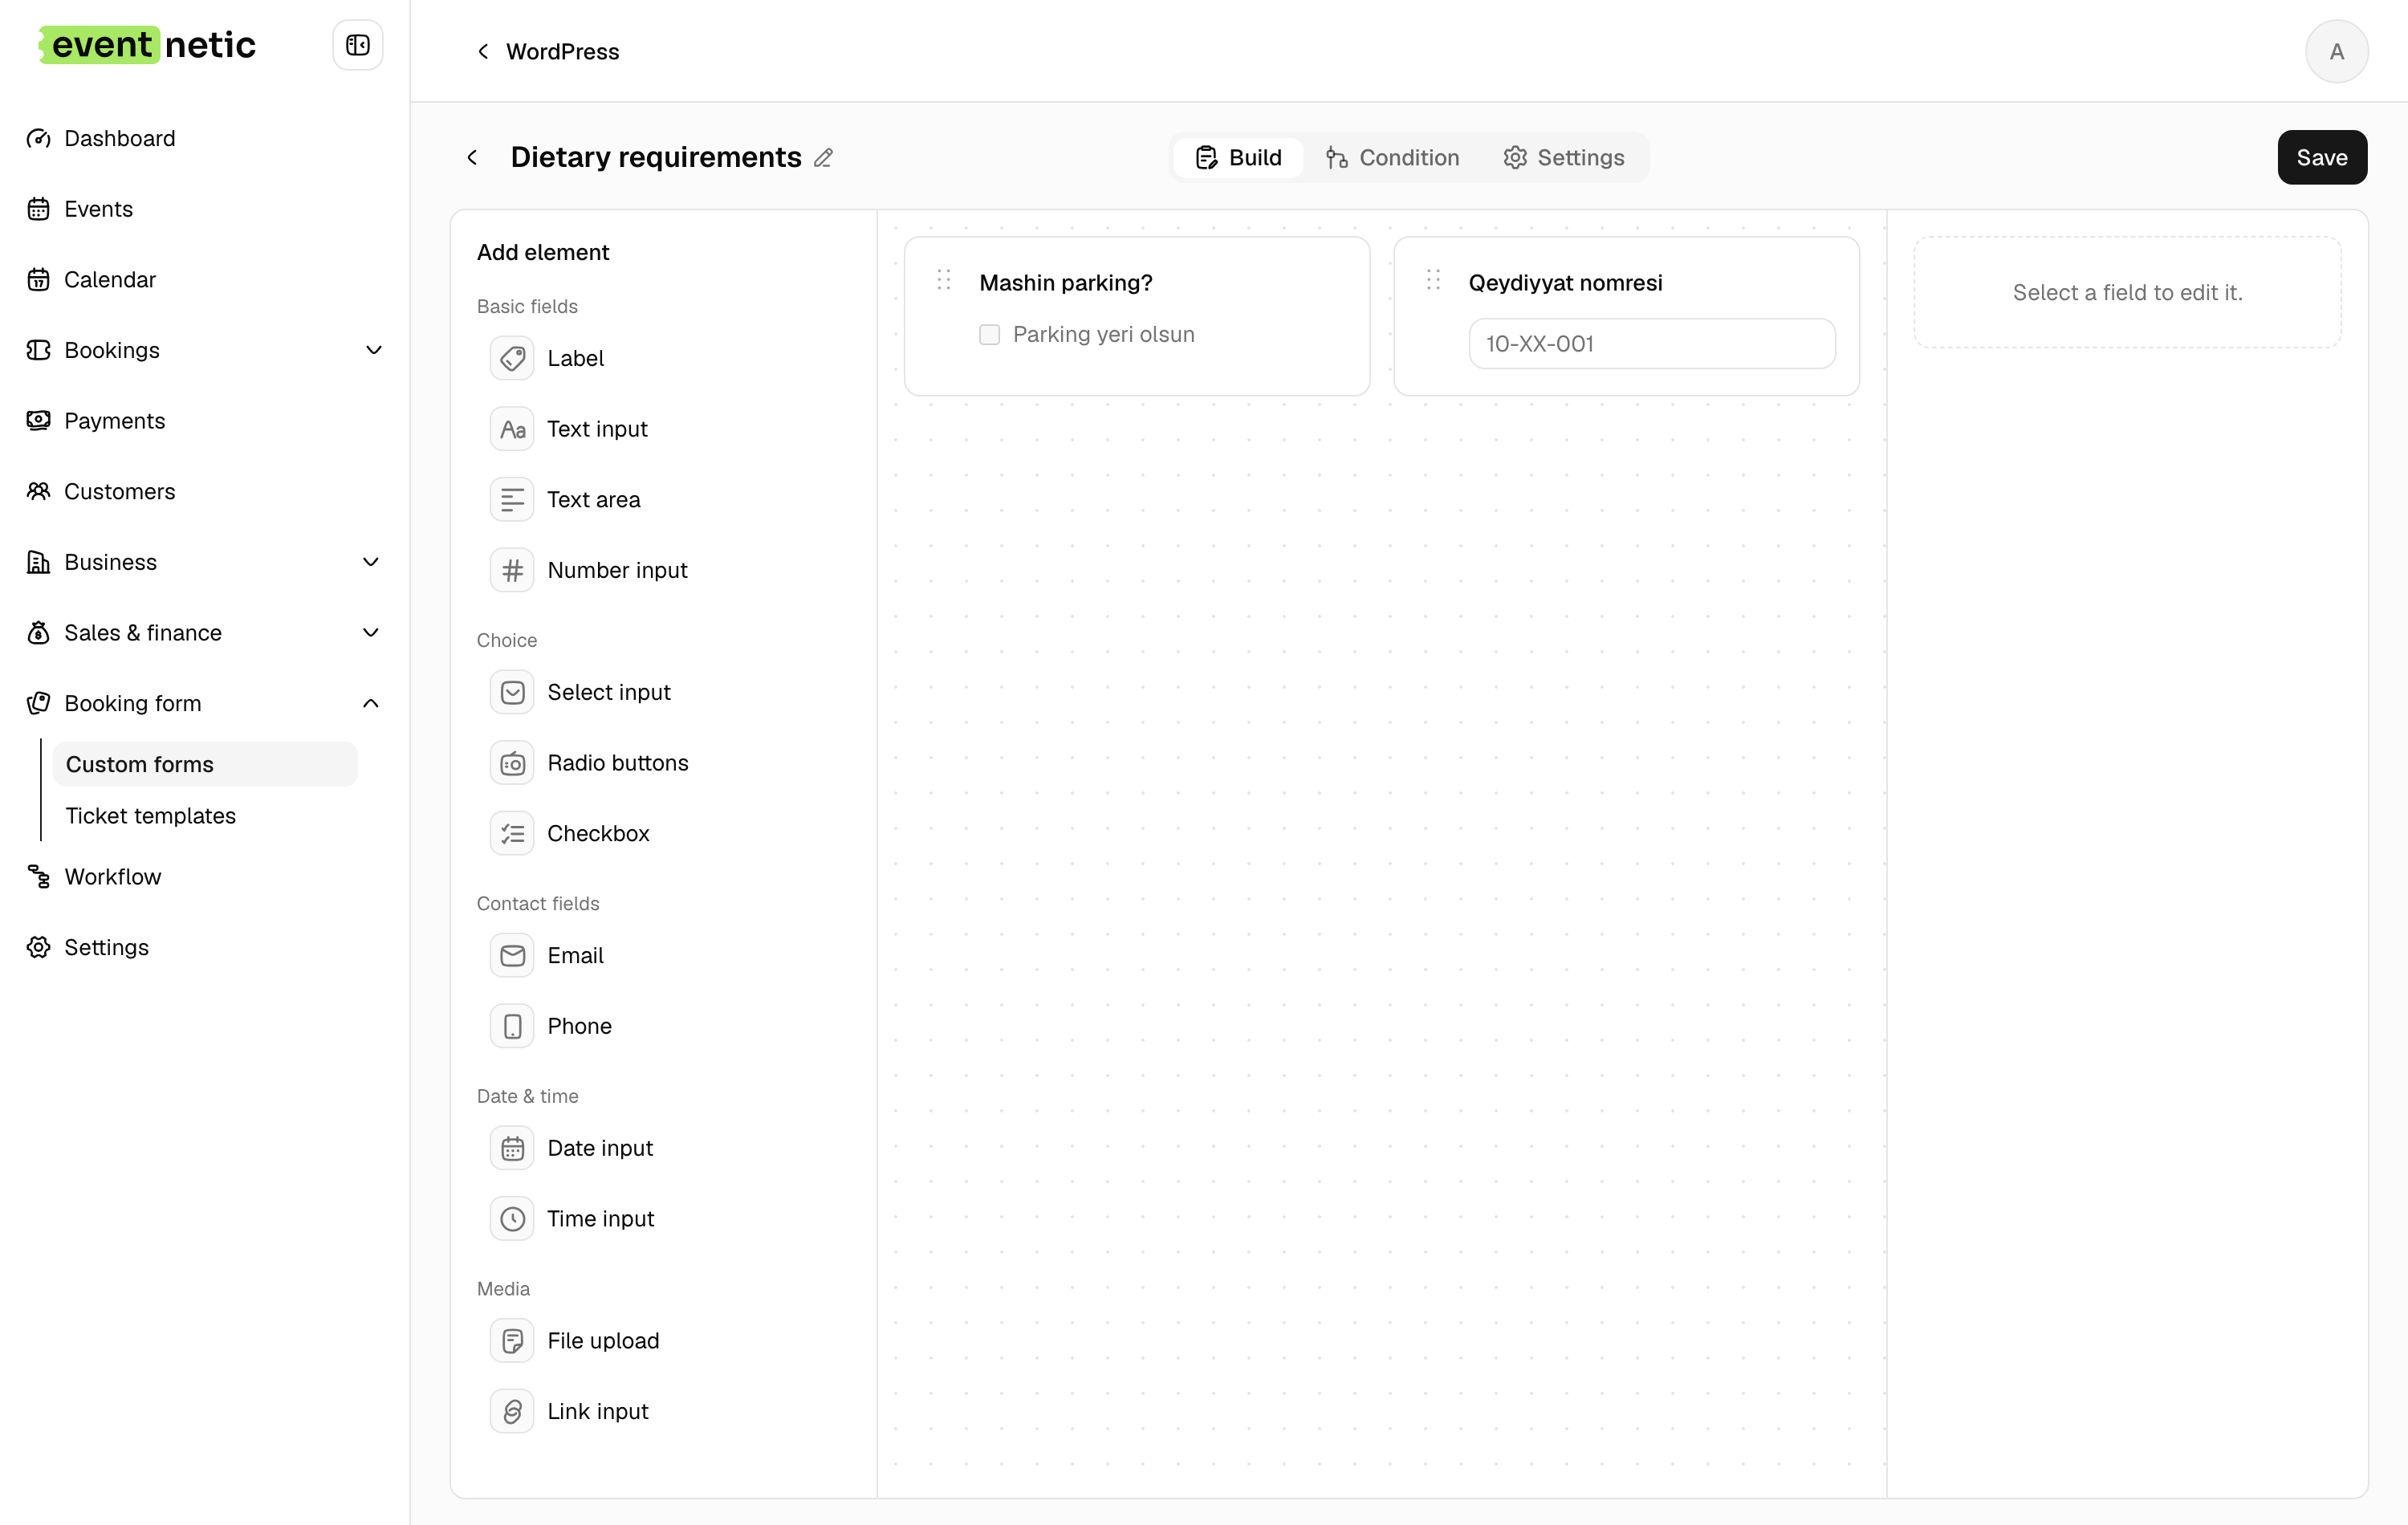
Custom attendee forms. The Starter plan unlocks per-attendee intake fields: dietary preferences, skill level, equipment requirements, or any other information you need before the session.
Automated email notifications. The plugin ships with a 15-trigger email automation system. You can send an immediate booking confirmation, a reminder 48 hours before the session, and a follow-up email after the workshop ends.
QR code check-in. Every ticket on the Starter plan includes a unique QR code. Staff scan tickets from a phone browser at the door without installing a separate app.
Zero platform commission. Eventnetic takes nothing from ticket revenue on any plan. Only the standard Stripe or PayPal gateway fees apply.
Setting Up a One-Off Workshop
A one-off workshop is a single session on a fixed date with a defined number of seats.
Create the event
In your WordPress dashboard, go to Eventnetic and create a new event. Enter the event name, date, start time, and end time. Add a venue name and address for in-person sessions. For online workshops, include the video call link in the booking confirmation email rather than on the public event listing.
Add ticket types
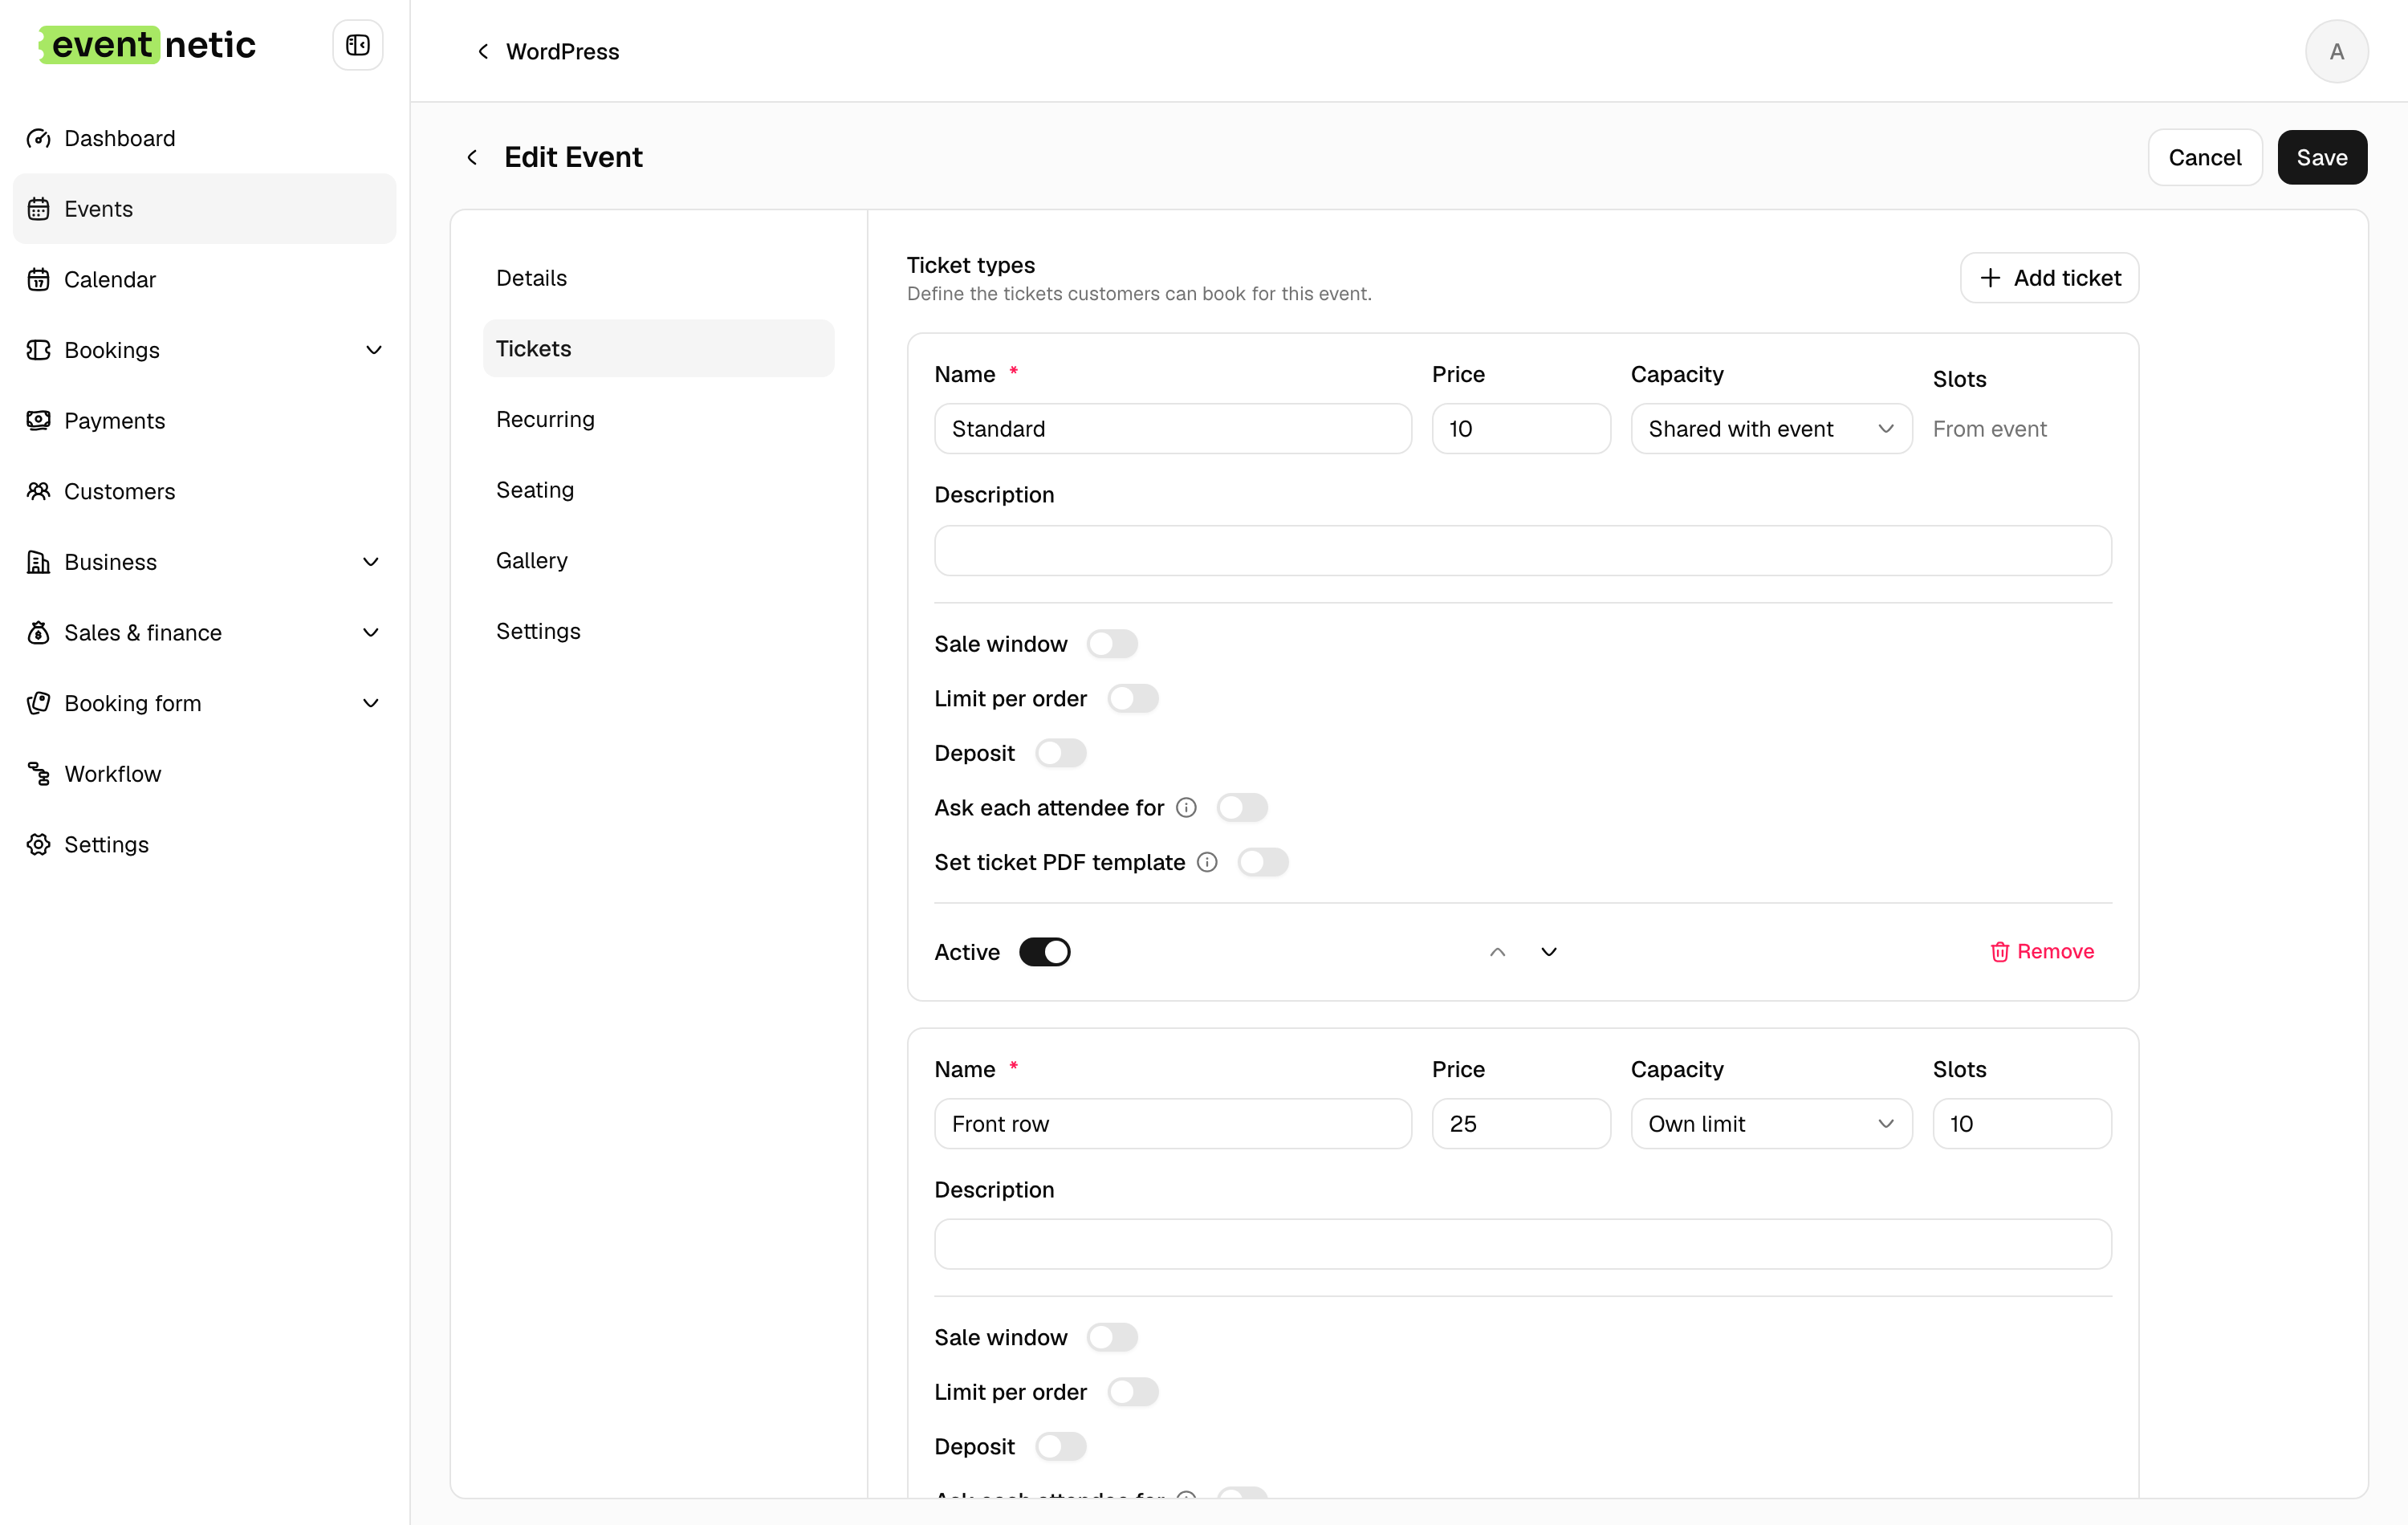
Eventnetic supports multiple ticket types per event. For a one-off workshop, common types include:
- Standard - the base price for the session
- Early bird - a discounted price with a defined availability window that closes automatically when it expires or sells out
- Workshop plus materials - a higher-priced tier that includes a physical or digital materials kit
Each ticket type has its own price, quantity, and availability window. When a type sells out or its window closes, it deactivates and the remaining types continue selling.
Set the capacity
Capacity in Eventnetic is controlled at two levels: the event level and the ticket-type level.
The event-level capacity is the total number of people who can attend, regardless of which ticket type they hold. Ticket-type-level limits control how many of each type can sell. Setting both prevents overselling even when multiple types are active simultaneously.
For a workshop with 20 seats: set the event capacity to 20, then set individual ticket-type limits that add up to 20 or fewer. When early bird tickets are gone, that type closes and only the remaining types continue selling.
Add a waiting list
If a session is likely to fill quickly, enable the waiting list, which is on the Pro plan. When the final seat sells, subsequent visitors see an option to join the list. If a confirmed attendee cancels, Eventnetic sends the next person on the list an offer with an expiry window. If they do not claim the spot in time, it passes to the next person.
Setting Up Recurring Workshops
A recurring workshop repeats on a fixed schedule: weekly yoga classes, a four-week beginner coding course, monthly business networking sessions. Recreating each session date manually wastes time and introduces room for error. Eventnetic handles recurring dates as part of a single event record.
Define the recurrence pattern
When creating or editing an event, enable recurring dates and select a pattern: daily, weekly, monthly, or a custom interval. For a weekly class on Tuesday evenings, set the pattern to weekly and select Tuesday. Eventnetic generates all upcoming dates within the range you specify.
Each date in the series can carry its own:
- Capacity - different sessions can have different seat limits
- Price - you can adjust the ticket price for individual sessions within the series
- Ticket availability window - early bird pricing can be active only on specific dates
For the full recurring ticketing setup, the recurring event tickets guide on the Eventnetic blog covers every configuration step.
Selling a course across multiple sessions
For a structured course running across several sessions, one practical approach is to create a ticket type labelled for the full series (for example, "8-Week Photography Course") and price it to cover the complete run. Using Eventnetic's recurring date structure, each session becomes a scheduled date within the same event. Attendees purchase the full-course ticket type and the organizer manages attendance confirmation per session through the check-in panel.
This is a practical setup for course-style events rather than a dedicated multi-session pass feature. Check Eventnetic's documentation for the exact behavior of booking records across recurring dates, and confirm the workflow in a test booking before advertising it to attendees.
Limiting Capacity
Keeping workshop groups to a manageable size is often as important as filling every seat. Eventnetic enforces hard capacity limits: once the configured number of bookings is reached, the event closes automatically. No manual intervention is required.
For workshops where a few dropouts are expected, the waiting list handles the gap. When a cancellation comes in, the system contacts the next person on the list rather than requiring you to reach out manually.
Capacity limits apply individually to each recurring date, so a series where some sessions have 12 spots and others have 20 is fully supported.
Collecting Attendee Information
Most workshops need more than a name and email address. A cooking class needs to know about food allergies and dietary restrictions. A photography workshop may need the make of the attendee's camera. A beginner coding session may need the attendee's operating system so you can send the right setup instructions in advance.
Custom attendee forms are available on the Starter plan. Field types include:
- Short text - name, dietary preference, camera model
- Dropdown - skill level (beginner, intermediate, advanced)
- Checkbox - agreement to terms, consent to session recording
- Radio button - a choice between two defined options
- Long text - specific questions or notes from the attendee
Fields can be marked required or optional. Required fields block checkout completion until the buyer fills them in. Optional fields appear in the form but do not prevent submission.
All attendee answers appear in the booking detail view in your Eventnetic dashboard and in the attendee export. If your workshop collects health-related or sensitive information, check your local data handling requirements before making those fields mandatory.
Payment Options
Free plan: offline and cash payments
The free plan supports unlimited events and unlimited bookings with offline payment collection. Attendees register through the standard booking form and pay by bank transfer, cash on arrival, or a manual invoice you issue yourself. You mark each booking as paid in the dashboard once payment is confirmed.
This setup works for workshops where you collect payment at the door, issue invoices to clients directly, or run sessions for clients with standing agreements. There is no time limit on the free plan and no cap on how many workshops or bookings you can process.
For the full scope of what is available at no cost, the free WordPress event ticketing guide covers every feature included in the free plan.
Starter plan: Stripe and PayPal
The Starter plan ($99/year for one site) unlocks Stripe and PayPal checkout. Attendees pay online during the booking flow without leaving your site. The payment routes directly to your connected Stripe or PayPal account. Eventnetic does not take a platform commission on any plan. The only deductions are the standard gateway processing fees charged by Stripe or PayPal directly.
Deposit and partial payments
If your workshop carries a higher ticket price, a deposit option lowers the barrier to booking. On the Starter plan, you can set a deposit amount the attendee pays at checkout and collect the remaining balance before the session. Both the deposit amount and the balance deadline are configurable per event.
Deposits are practical for intensive or multi-day workshops where attendees commit in advance but may prefer to spread the cost.
Discount codes
The Starter plan includes a discount code module. Create a code for repeat attendees, for a newsletter subscriber list, or as an early-registration incentive. Codes can apply a flat amount or a percentage discount and can be limited to a specific number of uses before they deactivate.
Automated Reminders and Notifications
No-shows are costly for a workshop, especially one with a small group where each absent attendee is visible to everyone else. Timed email reminders can help reduce no-shows without requiring any manual follow-up.
Booking confirmation
The confirmation email fires immediately after a successful payment or registration. It includes the booking details, the event date and time, the venue or access instructions, and the PDF ticket with QR code (on Starter and above). This is the email attendees forward to colleagues or print to bring with them.
Pre-event reminders
Configure a reminder to send 48 hours before the workshop and, for sessions where lateness is disruptive, a second reminder 2 hours before it starts. Both are configured in the automation panel by specifying the trigger event and the time offset before it fires. Subject lines and body text are fully customizable, with dynamic placeholders for the attendee name, event name, and session date.
Use the 48-hour reminder to include practical logistics: parking information, what to bring, where to enter the building, or a link to any pre-reading.
Post-workshop email
A follow-up email sent after the workshop ends is where you collect feedback, share resources, and maintain the attendee relationship. Set a post-event trigger with a time offset (for example, 2 hours after the session end time). The email goes to every confirmed attendee for that specific session.
Useful inclusions in the post-workshop email:
- A link to any slides, recordings, or supplementary material
- A short feedback form (Google Forms or a Typeform embed)
- The booking link for the next session in the series
- A repeat-attendee discount code for a future workshop
- A certificate download link (see the follow-up section below)
Telegram, SMS, and WhatsApp notifications (Elite)
Telegram, SMS via Twilio, and WhatsApp via Twilio-approved templates are available on the Elite plan. For attendees in communities or groups that communicate primarily through Telegram, SMS, or WhatsApp, these channels can replace or supplement email for reminders and booking updates. If your workshop audience skews toward mobile-first communication habits, these channels are worth setting up alongside your email automation.
QR Code Check-In
Every ticket on the Starter plan includes a unique QR code tied to the individual booking. The check-in workflow is simple:
- A staff member opens the Eventnetic check-in panel in a phone or tablet browser. No app installation is required.
- The attendee presents their ticket: either on a phone screen from the confirmation email or a printed copy.
- The staff member scans the QR code. The panel shows the attendee's name, ticket type, and confirmation status in real time.
- The booking is marked as checked in.
The check-in panel is available at a direct URL you share with door staff. Multiple staff members can use it simultaneously at different entry points.
If a QR scanner is not available, the panel also supports check-in by name or booking code. This covers walk-up attendees, people who have lost access to their confirmation email, or spontaneous additions to a session.
Checking in free-plan attendees
On the free plan, check-in works by name or booking code without QR codes. This is practical for small workshops where the organizer knows attendees by name or has a printed list. The Starter plan is required to generate PDF tickets with QR codes.
Certificates and Post-Workshop Follow-Up Ideas
Eventnetic does not issue completion certificates natively. Several approaches layer cleanly on top of the post-workshop email automation.
PDF certificate delivered by email
Design a certificate template in Canva, Adobe Express, or your preferred design tool. After the session, export personalized certificates as PDFs and include a download link in the post-event email. For workshops with small cohorts, personalizing each certificate with the attendee name before sending is feasible. For larger groups, a mail merge tool or a Google Drive folder with individually named files, linked from the confirmation system, scales the process.
A protected certificate page on your site
Create a password-protected page on your WordPress site with the certificate available for download. Include the password and page URL in the post-workshop email. Every attendee who attended can access the download without you manually sending individual files.
Completion survey with certificate redirect
Include a feedback form link in the post-workshop email. After the attendee submits the form, redirect them to a page with their certificate download or a shareable certificate image. This approach captures feedback as a condition of certificate access, which increases the response rate.
Announcing the next workshop
The post-workshop email is an effective place to promote the next session in your program. Attendees who have just completed a workshop are the most engaged audience you have. Link directly to the booking page for the next date in the series and consider including a repeat-attendee discount code created through Eventnetic's discount module.
For a workshop series with a graduation structure (beginner, intermediate, advanced), a post-beginner email that promotes the intermediate session with a completion discount is a practical conversion play.
Getting Started: Free Plan or Starter
If you are running your first workshop or testing the setup before committing, start on the free plan. You can create the event, publish the booking page, set the capacity, configure the confirmation email, and collect registrations immediately. Attendees pay by cash on arrival or via an invoice you issue manually.
When you are ready to take online payments, issue PDF tickets with QR codes, or run recurring dates on a schedule, a single Starter upgrade ($99/year for one site) unlocks all of those features at once. There is no intermediate tier. The Starter plan also covers custom attendee forms and discount codes. Waiting lists and seat maps are on Pro; Telegram, SMS and WhatsApp are on Elite.
For a broader guide to the payment setup specifically, the sell tickets on WordPress guide covers payment configuration in more detail.
Frequently Asked Questions
Can I sell workshop tickets for free on WordPress?
Yes. The Eventnetic free plan supports unlimited events and unlimited bookings with no time limit. The free plan uses offline or cash payment collection: attendees register and you confirm payment manually by bank transfer, cash at the door, or a manual invoice. Stripe and PayPal online payment require the Starter plan ($99/year).
How do I limit the number of seats in a workshop?
Set the capacity in the event settings in Eventnetic. The event-level capacity is the total number of bookings the system accepts. Individual ticket types can also have their own limits. When the total capacity is reached, the booking page closes automatically. No manual intervention is required.
Can I run a recurring workshop without recreating each date?
Yes. Eventnetic supports recurring dates with daily, weekly, monthly, and custom patterns. Set the recurrence pattern once and the plugin generates all upcoming dates within the range you specify. Each date can carry its own capacity and ticket price.
How do I collect dietary preferences or skill levels from attendees?
Custom intake fields are available on the Starter plan. Add fields to the booking form for any information you need: short text, dropdown, radio button, checkbox, or long text. Fields can be required or optional. Attendee answers appear in the booking dashboard and in the attendee export.
Do I need a paid plan to send reminder emails?
No. The 15-trigger email automation is available on the free plan and on all paid plans. You can send a booking confirmation, a pre-event reminder, and a post-event follow-up without upgrading. Telegram, SMS, and WhatsApp notifications are available on the Elite plan.
How does QR check-in work for workshops?
On the Starter plan, each ticket includes a unique QR code. A staff member opens the Eventnetic check-in panel on a phone or tablet browser, scans the attendee's QR code, and the booking is marked as checked in. The panel also supports check-in by name or booking code when a scanner is not available.
Can I accept deposits rather than full payment upfront?
Yes. The Starter plan includes a deposit option. Set the deposit amount and the balance collection deadline when creating the event. Attendees pay the deposit at checkout and the remaining balance before the session date.
What happens if my workshop sells out?
When the configured capacity is reached, Eventnetic closes the booking page automatically. If you have the waiting list enabled (Pro plan), subsequent visitors can add themselves to the list. When a cancellation comes in, the system contacts the next person on the waiting list automatically.


